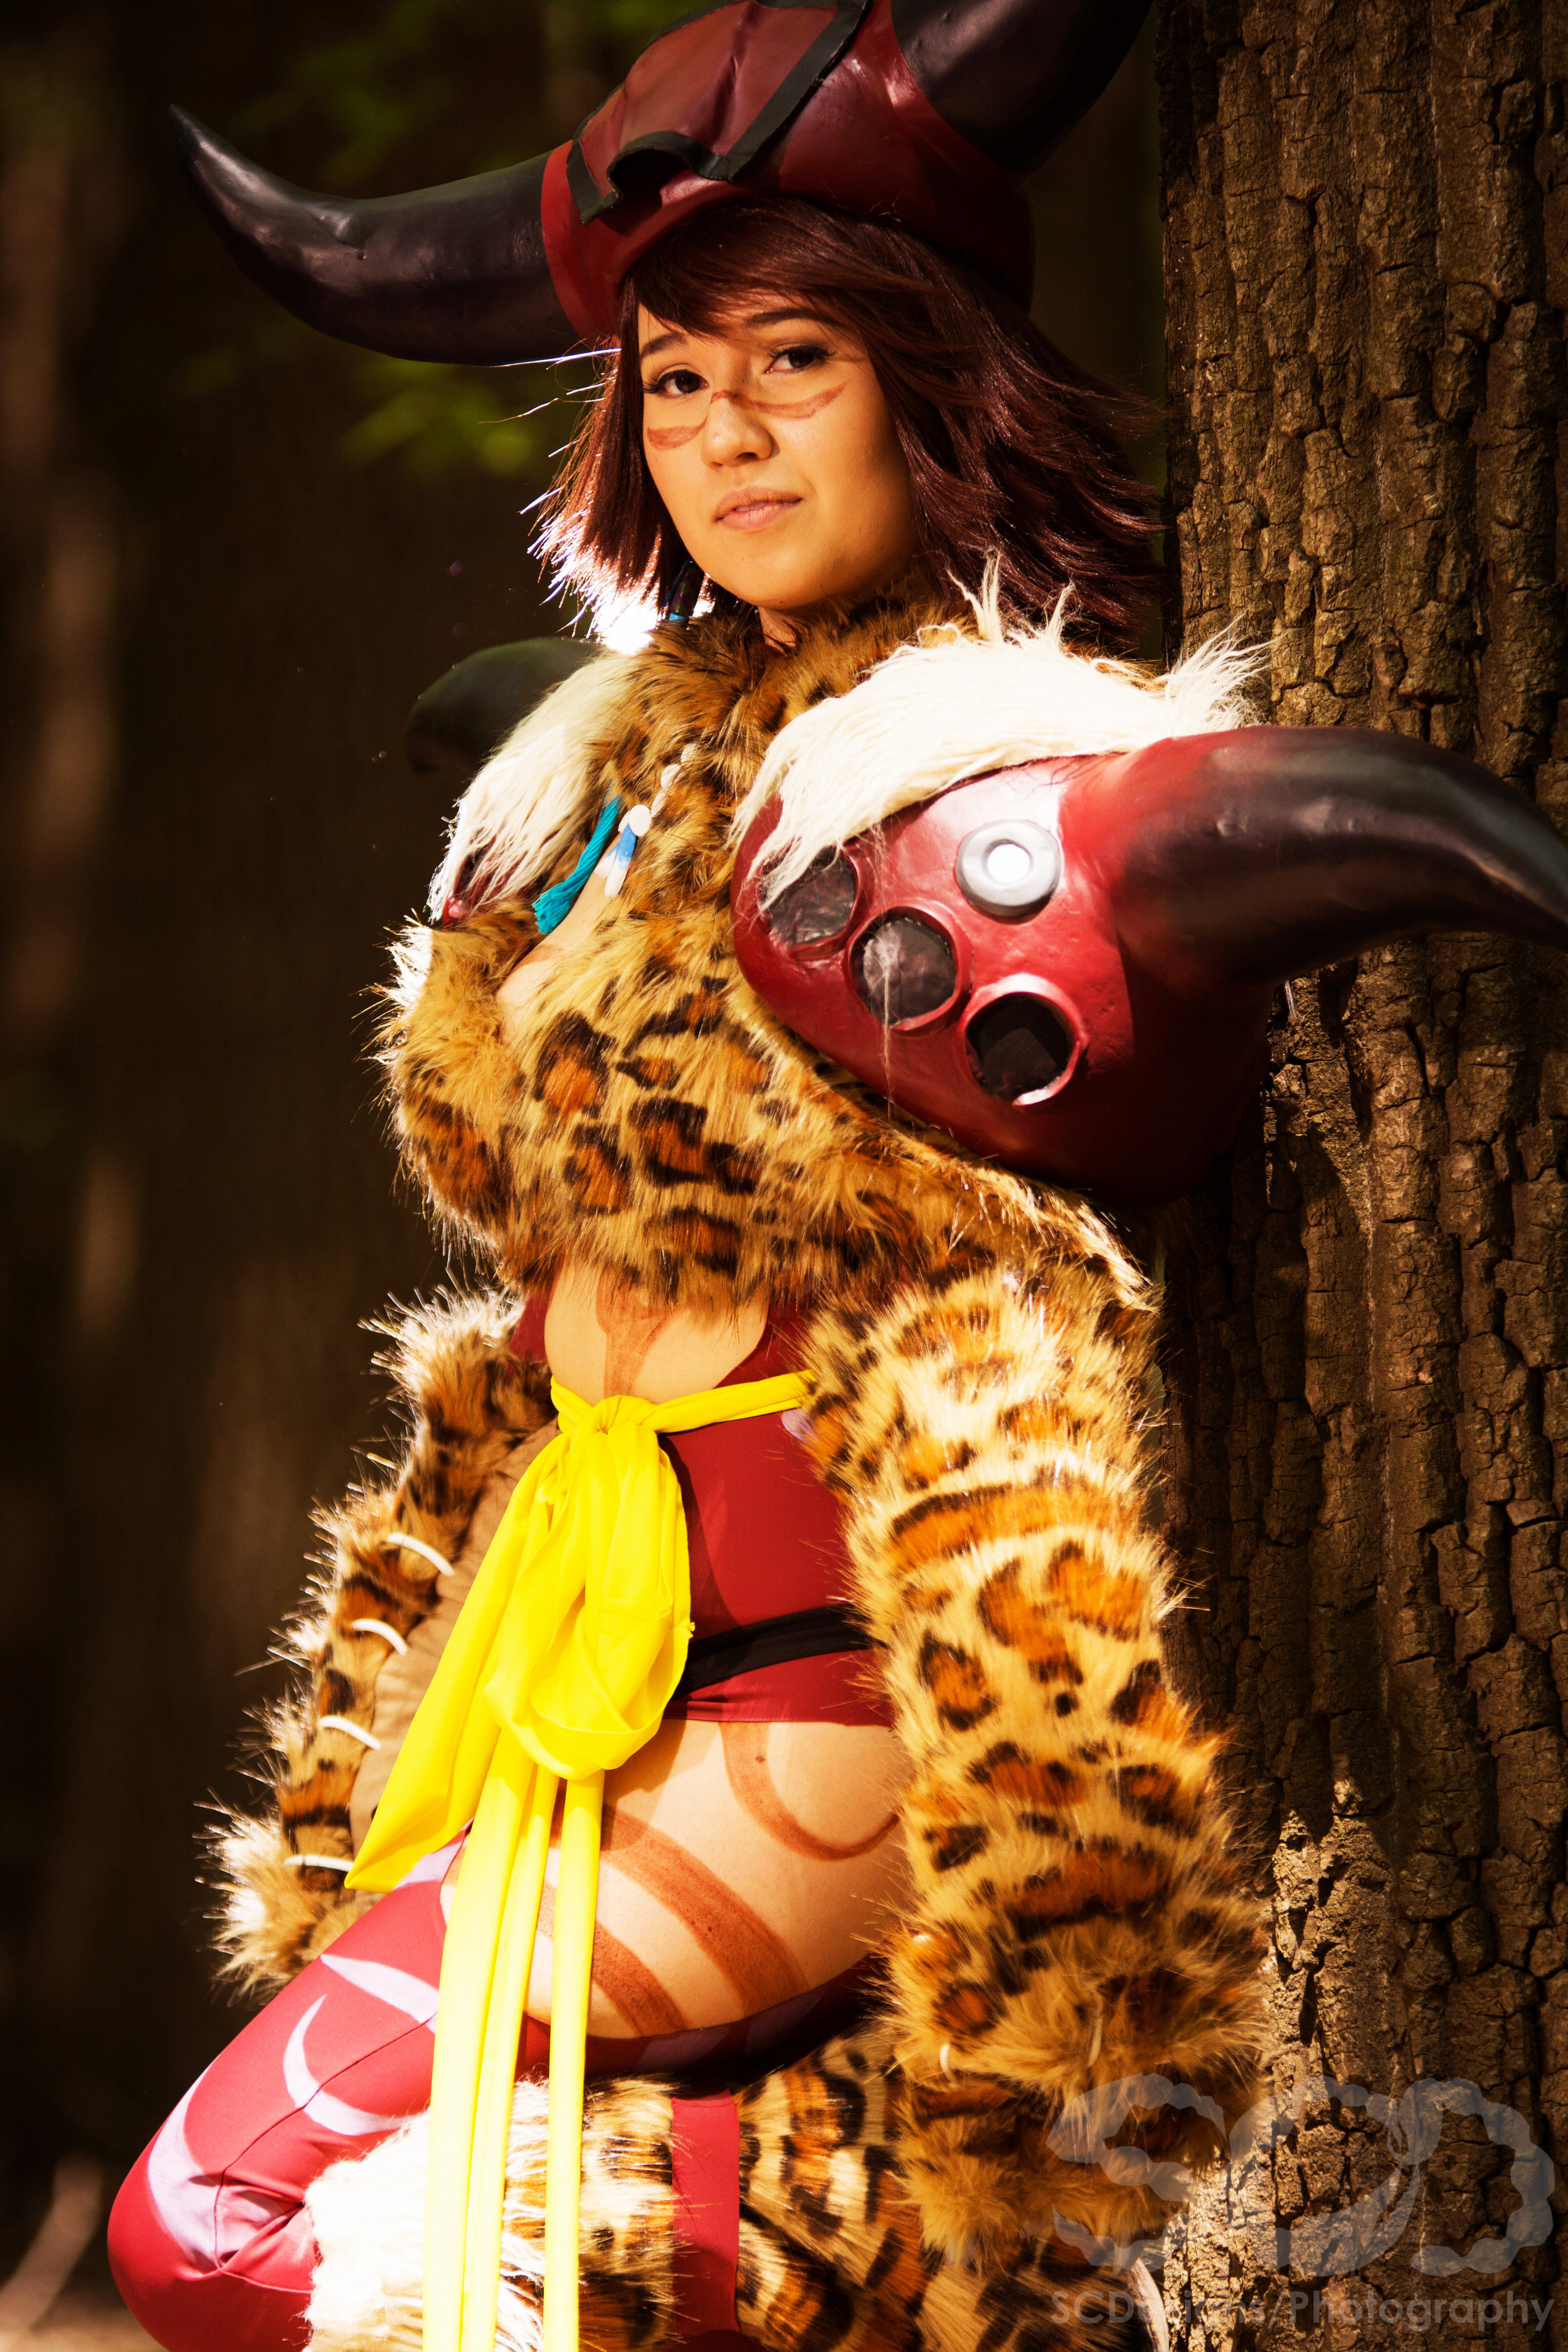
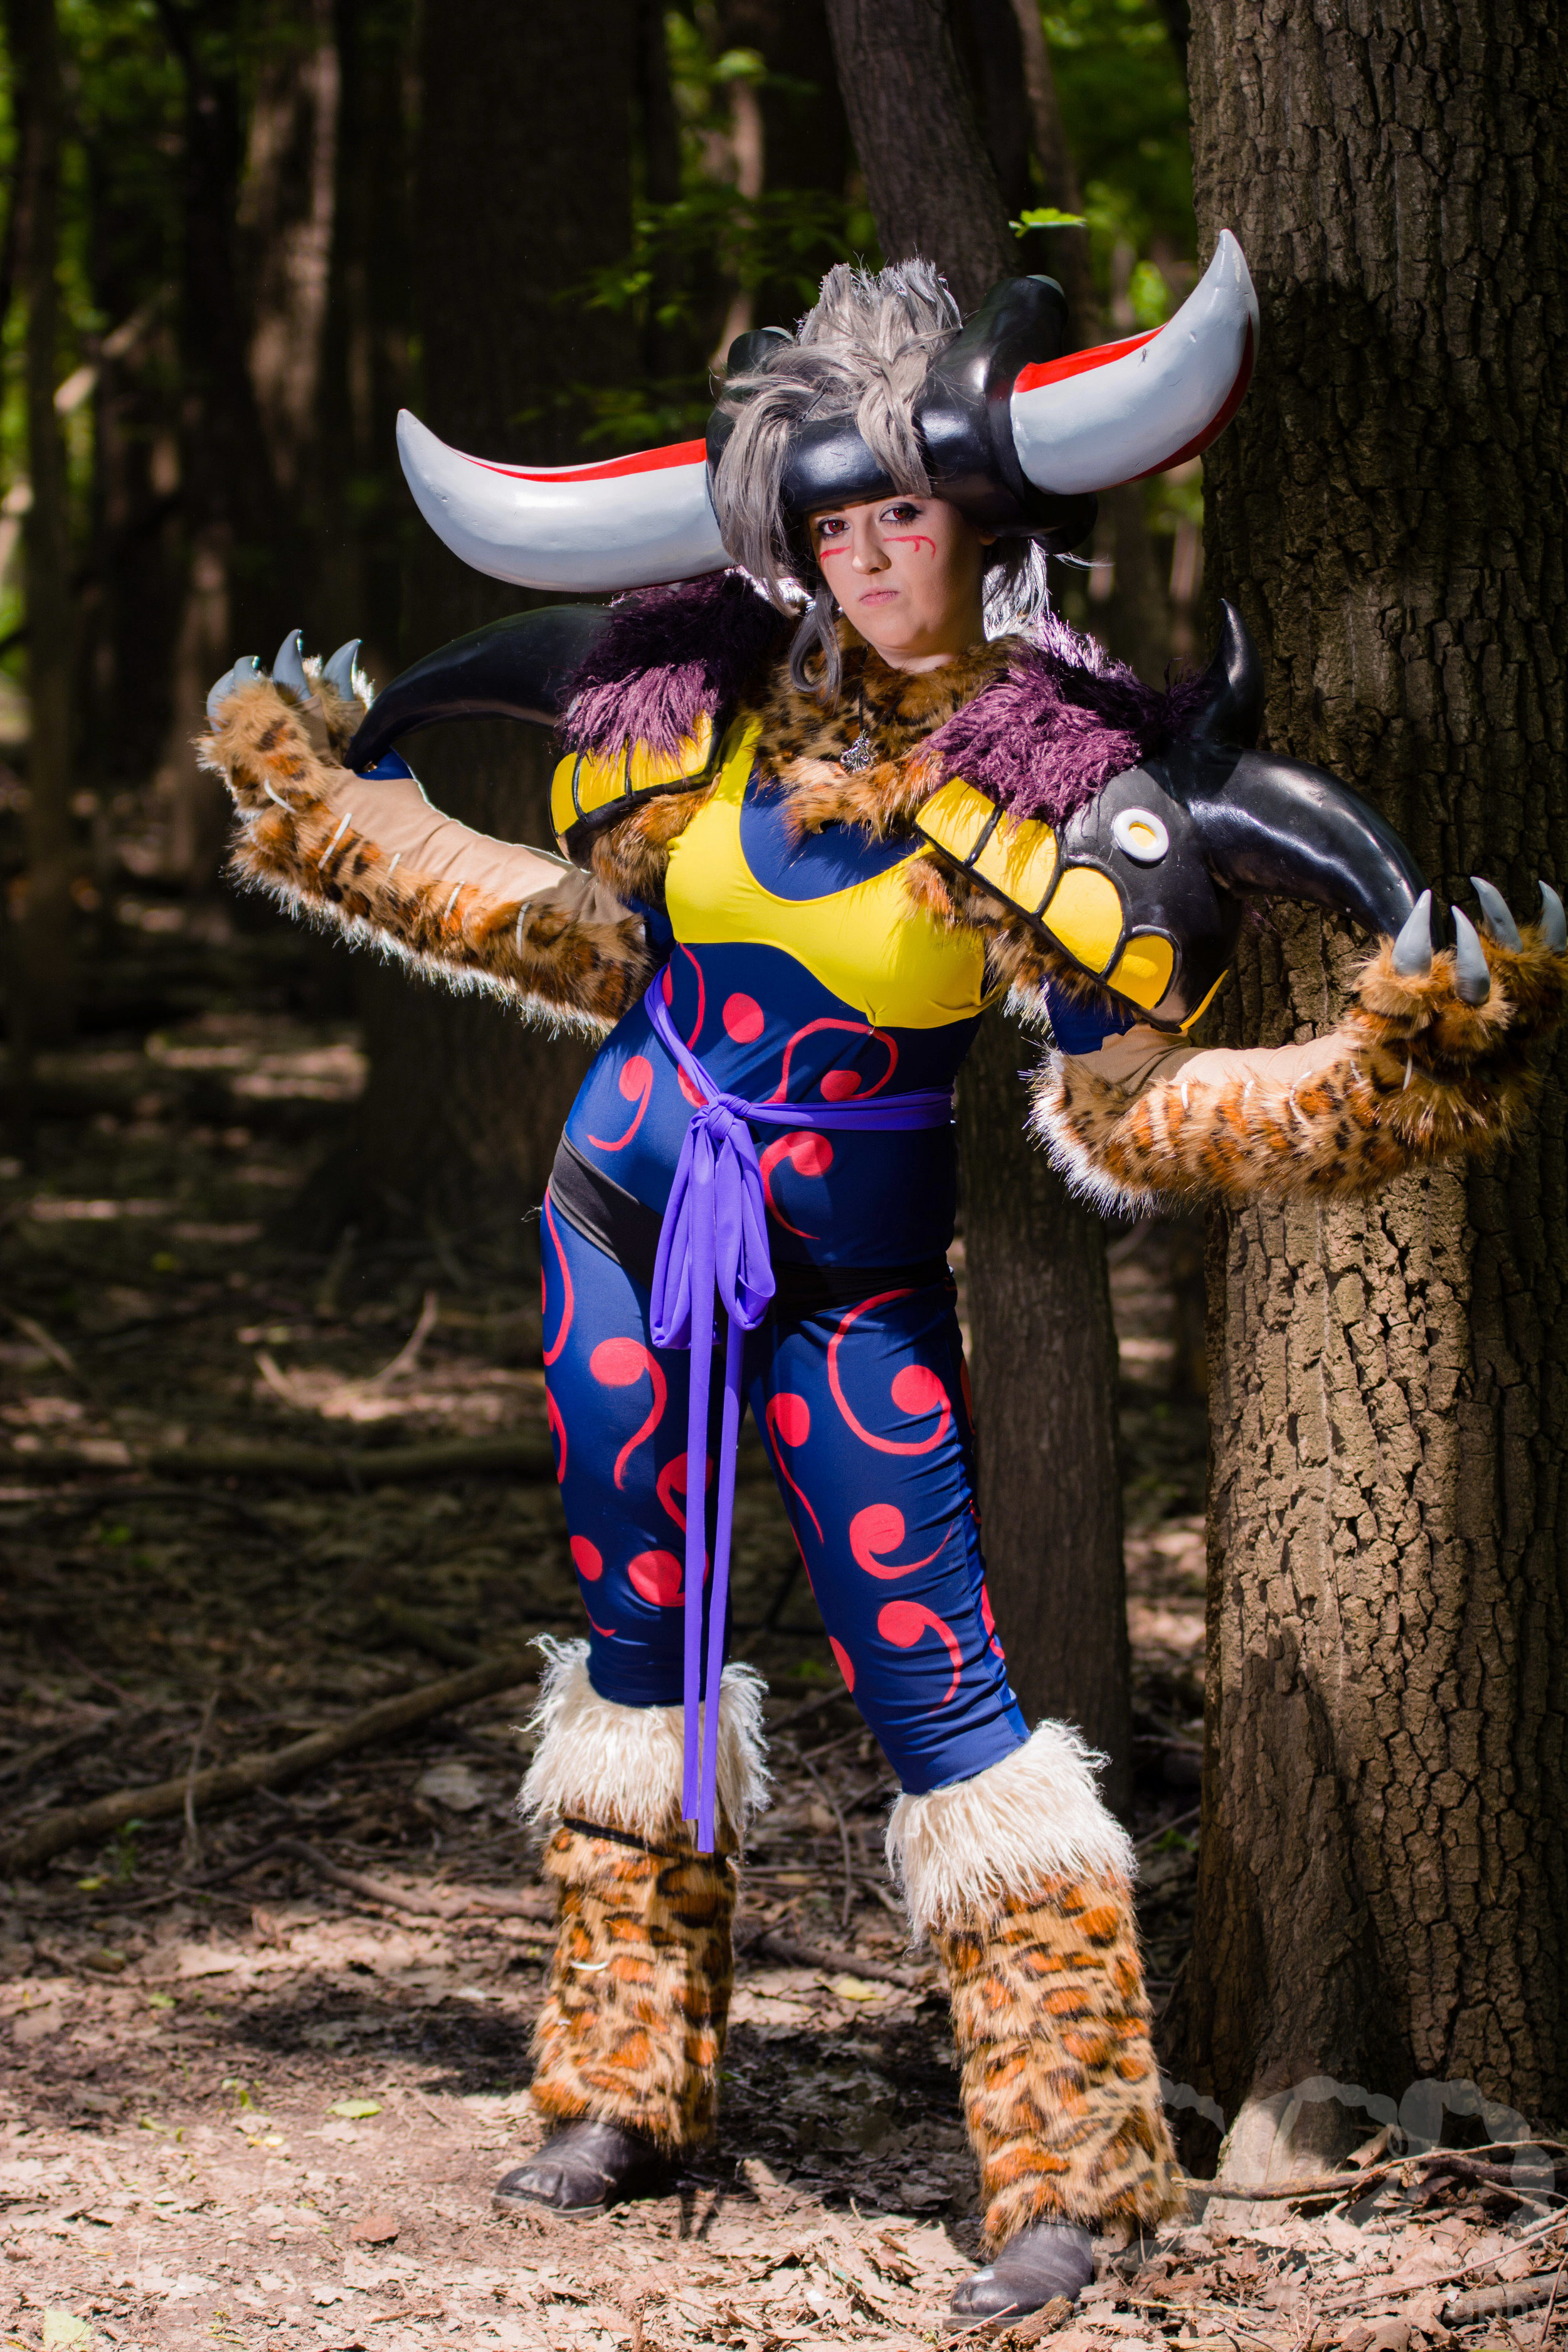
Berserker Armor Tutorial
BonKyuBOMBGIRL
This was my first attempt at making cosplay armor. I've avoided costumes with armor for years because I had no idea where to start. I am SO THANKFUL for the people who have shared all their armor-making knowledge and I owe them a lot of credit. I used a couple of sources, including KamuiCosplay Expanding Foam Tutorial and Jia Jem's Armor Tutorial. Both helpful resources that are worth looking into :)
I wouldn't say that I have anything new to add. But I thought I'd share my experience and some of the mistakes I made along the way. Hopefully it will inspire others to conquer their fear of armor as well. :P Let's get started!
TOOLS:
Medium to heavy-weight cardboard
Hot Glue
Utility Knives
Masking Tape
Elmer's Glue
Old newspaper
Paperclay
Ryobi Corner Cat Finish Sander
Step 1: Make your base out of cardboard.
I used thicker cardboard to create a solid foundation for the inside. Use the grain of the cardboard to your advantage and cut against it when making strips. It makes the cardboard easier to bend.
I hot glued all the sections together, making sure to fill in any gaps along the way. This step is important because your expanding foam needs something to adhere to.
Step 2: Add expanding foam.
Once you're happy with the shape of your armor, it's time to add the expanding foam.
Fresh coat of foam.
I was able to cover the three pieces of armor with two cans of foam. Take your time and try to avoid having any gaps. You'll thank yourself later when you start to shave down the foam and there aren't any chunks missing.
Once your cardboard is completely covered with the foam, let it rest for 24-48 hours. I was impatient and started carving as soon as the foam felt solid. It hadn't completely cured though so my knife did not glide through that well. More importantly, when I came back to work on it two days later, the foam had continued to expand making all the initial carving pointless.
Step 3: Carve out the shape of your armor.
PROTIP: Don't waste your time with dull blades. It might seem like I'm stating the obvious, but yes I did use a dull blade that I had lying around and it really slowed down the process. A fresh blade takes much less effort when cutting away at the foam. It glides right through it and makes smoother cuts.
Take your time carving out your armor. It's better to keep shaving away at it rather than taking off too much and trying to fix it. I recommend using a long blade for the initial cutting, then use a small blade for the detailed work.
Have a garbage & vacuum readily available. This stuff gets everywhere!
Step 4: Masking tape & paper mache.
Cover any exposed foam with masking tape. I left the undersides of my armor (minus the edges) bare because I wasn't adding clay to it. This will prep your armor for the paper mache layer next.
Once covered in tape, it's time to add paper mache. Jia Jem's tutorial gave a bunch of helpful tips during this part as well as the clay part, so please check it out if you haven't already!
Cut up lots of newspaper and have a bowl of Elmer's glue/water mixture ready. I don't have an exact ratio, I just a small amount of water to the bowl of glue until I got the consistency I wanted. I took an old paint brush & spread the glue mixture onto the taped surface in sections. Then I covered those sections with newspaper pieces and added a final layer of glue as a topcoat. I know some people like to dunk the newspaper into the glue, but I found this method was less messy & it worked well for me.
Wait for the glue to dry and add another layer of paper mache if you'd like. I only used one layer for this project. Trim off any edges of newspaper that are sticking out.
Step 5: Paper Clay
With a bowl of warm water next to you, wet your hands and grab some clay. Work the clay around in your hands to soften it, and then flatten it out. Place the flatten piece onto the armor and massage it down. Dip your fingers in warm water and smooth down clay wherever necessary. Repeat until your armor is covered.
Also, use this time to build up any areas that you think are lacking. For me, one of the shoulder tips were longer than the other so I added some extra clay at the tip to even it out.
Step 6: Sanding
The moment I was looking forward to! Mainly because I bought a new power tool and I wanted to see it in action. But this is also where your armor comes to life. :) Underneath that bumpy clay is a masterpiece just waiting to be sanded. :P
I used the Ryobi Cat Sander (a brand only sold at Home Depot. This little sander has a built in dust bag that does a pretty good job of collecting the excess clay. But I highly recommend sanding in your garage or outdoors because the dust still gets everywhere.
I sanded in small circular motions until I got an even, smooth surface. Just like Jia recommends, if you hit a spot where the paper mache is showing, don't sand in that spot anymore.
You might come across some cracks in your clay. I had some around where the horns met the base. Just add a small bit of clay to fix any imperfections. This is the one step I wish I was more throughout about. I cleaned up all the cracks but over looked some bumps that became more visible after painting. :/ Another lesson learned!
Before & after! What a difference.
Add on any extra details if needed. I added the circular detailing to the armor with more clay & sanded it by hand with sand paper. When you're satisfied, get rid of any excess dust on your armor and you'll be ready for the final steps.
Step 7: Primer!!!
I used two cans a spray primer, which gave me about three coats per piece. Between each coat I would lightly sand by hand to smooth out the surface best I could. Let it dry completely before adding your paint.
Step 8: Paint
First I coated the armor in the burgundy spray paint, then went over the horns in black.
I went in with some black acrylic paint inside the circles to add some depth. I added a matte finish top coat to finish the armor.
And there you have it! That was my complete armor making experience. I hope you found this tutorial helpful. If you have any questions, please feel free to ask. To see the completed look, please check out the Berserker Yuna and Berserker Paine pages! Good luck!